Please visit PART 1 to download contacts and call records
Please visit PART 2 to download seating charts & lesson trackers
Please visit PART 3 to download roadmaps, monthly and weekly calendar
Please visit PART 4 to download performance & field trip planner
Please visit PART 5 to download budget planner
Please visit PART 6 to download meeting notes
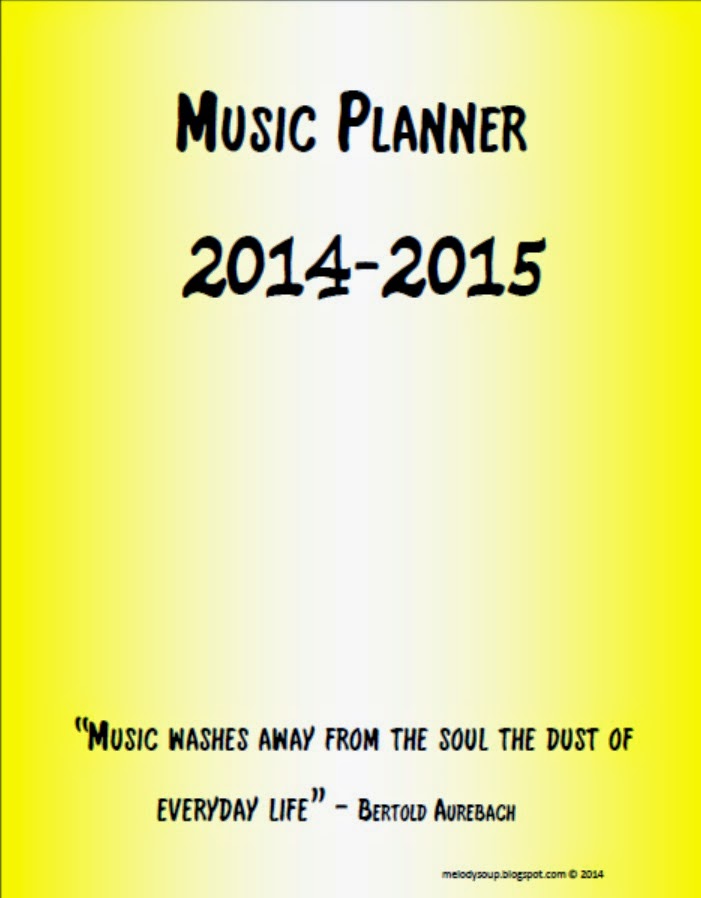
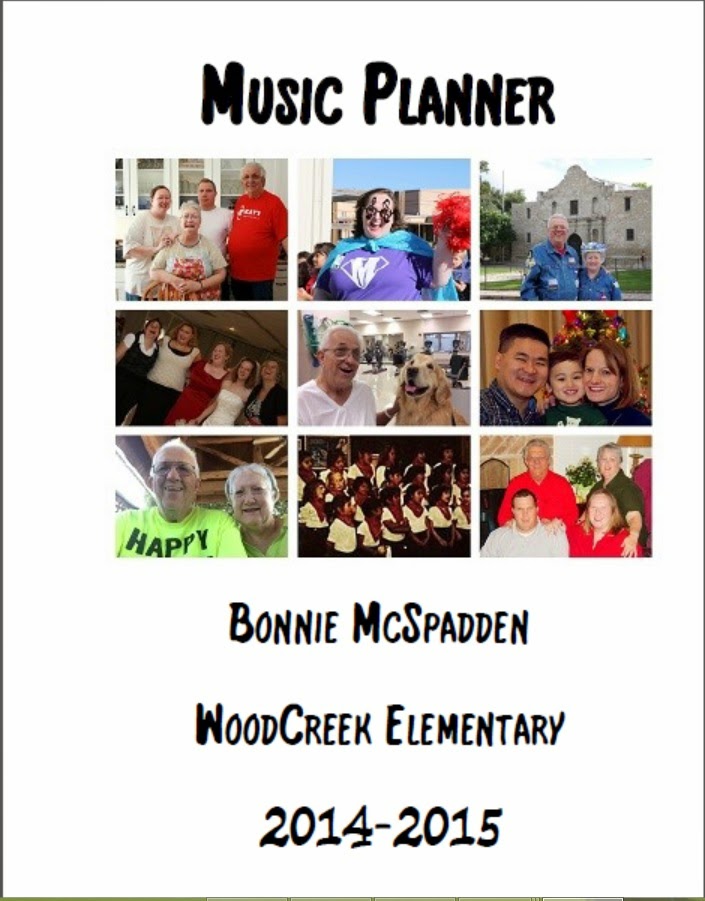 2. When you open the this section 2 – there will be a blank page, THIS page is not a part of the planner. it is really only a place holder so that the page layout will work, so there is no need to print it. You can either download one of the covers linked to this post, or you can create your own cover using personal photos. When I created my planner I printed the cover on a thick glossy card stock and it is protected by a clear cover. I used a photo editor to create a collage of people that I love. Next year I plan to laminate the cover in 10 mil.
Please visit PART 2 to download seating charts & lesson trackers
Please visit PART 3 to download roadmaps, monthly and weekly calendar
Please visit PART 4 to download performance & field trip planner
Please visit PART 5 to download budget planner
Please visit PART 6 to download meeting notes
Recommendations for printing and using your planner:
1. All pages are intended to be viewed in a 2-page spread with a 1.25 center margin. This is to allow for spiral binding or hole punching while leaving plenty room for writing. You don’t have to change the margins for it to print correctly, but the center margin is the reason why the even numbered pages are slightly left and the odd numbered pages are slightly right…. it is not a mistake.
 2. When you open the this section 2 – there will be a blank page, THIS page is not a part of the planner. it is really only a place holder so that the page layout will work, so there is no need to print it. You can either download one of the covers linked to this post, or you can create your own cover using personal photos. When I created my planner I printed the cover on a thick glossy card stock and it is protected by a clear cover. I used a photo editor to create a collage of people that I love. Next year I plan to laminate the cover in 10 mil.
3. When printed, my planner was approximately 150 pages front and back because I know how many pages I need. Only you know how many of each page you need, with that in mind, make sure that you set up your printing precisely. It might be easiest to print one of each page that you want and then go from there.
