Hey everyone!
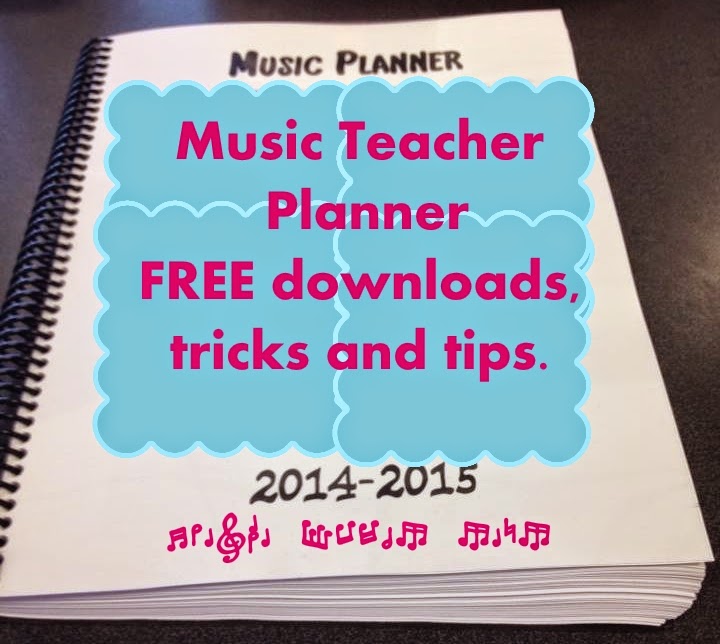
THIS is my new Music Teacher Planner!
My Personalized Music Teacher Planner:
I like to have everything in one place. I have less mess if my seating charts, lesson plans and other important documents are all together. Well, there is no such thing as a perfect planner and the ones that are close to being useful, don’t fit my situation very well. Over the years I have often used loose leaf binders to organize all of my things, but I found that while I was pretty happy with the documents I have created, the binders are just not working for me anymore! I was tired of dumping them on the ground while dancing to Trepak with my 2nd graders. Each time I knocked my VERY important binder on the ground ALL of my important things would scatter. I decided to go ahead and get my charts and graphs spiral bound. I can already tell that I am going to LOVE working with my new planner! It’s awesome! AND the price was very reasonable, especially considering that I was able to add enough of this chart and that chart for the number of classes, performances, field trips and lessons that I teach…. Every page has a task! Today I’m starting a series of posts where you can download each section of my planner for FREE! Maybe this planner will help you start your year off well. Maybe this planner will give you an idea and launch you upon your own
My planner includes the some of the following;
-
a clear plastic cover, a vinyl back cover and a black spiral.
-
a title page printed on glossy card stock with family photos
-
quick reference card printed on the back of the title page card stock, everything else has been printed front & back is on medium weight paper in order to reduce bleed through.
-
I was able to print it from a jump drive at Office Max. In 20 minutes and for about $30 I had the perfect planner for me.
to download the first section of the planner – click on the link below!!!!!
-
frequently called numbers
-
school business call record
-
notes
-
parent / student communication
-
volunteer tracker
Recommendations for printing and using your planner:
1. All pages are intended to be viewed in a 2-page spread with a 1.25 center margin. This is to allow for spiral binding or hole punching while leaving plenty room for writing. You don’t have to change the margins for it to print correctly, but the center margin is the reason why the even numbered pages are slightly left and the odd numbered pages are slightly right…. it is not a mistake.
2. When you open the this first section, there will be a blank page. This is where a title page will go, it is really only a place holder so that the margins will work, so there is no need to print it. You can either wait for my generic title page or you can create your own. I can’t wait to look at my family photos every day!
3. When printed, my planner was approximately 150 pages front and back because I know how many pages I need. Only you know how many of each page you need, with that in mind, none of the pages in my PDFs will be duplicated.


Thank you very much for this wonderful resource!