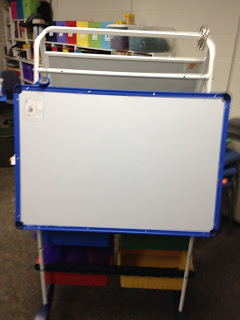
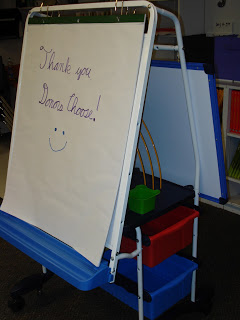
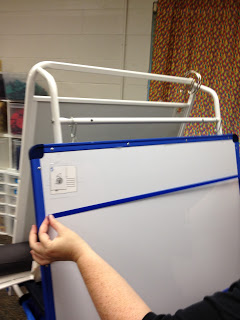
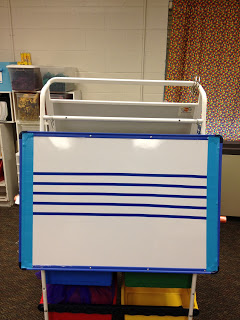
You never know how much you use a music staff board until you don’t have one. For 10 years I had one and then 3 years ago I moved to a new (to me ) school and was terribly disappointed to discover that I didn’t have a staff board. To make my staff board issue an even more entertaining to try and figure out, the one board that I do have is not large and has recently been cut in half due to the installation of my activeboard. I love my activeboard and typically go to that first, but there are times when technology is just not the way that the lesson is going and I find myself in need of a musical staff that is not dependent upon my computer.
Some of you may have joined the Pinterest craze in part for entertainment, but also because it is a nice and easy way to get ideas and inspiration for your classroom without the stress of really working. 🙂
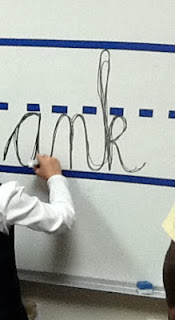 |
| picture from Memos from a Multi sensory Teacher |
Back in the spring I came across a pin from a great blog called Memos from a Multi sensory Teacher who uses painters tape on her white board to create an enlarged space for handwriting practice. I placed this on my “classroom set-up” board and thought about how I might create a similar staff board using tape.
I typically keep all kinds of tape on hand, but when it came to this staff idea I couldn’t settle on a type of tape and even more importantly – the width.
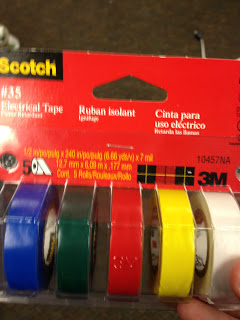 Here is the tape that I found at OfficeDepot. Yes is is electrical tape, and yes that means that if I ever remove it, or if a student removes the tape for me, then things will be sticky….. BUT the tape is thin AND I have “goo remover”. So I decided that I didn’t mind a little goo.
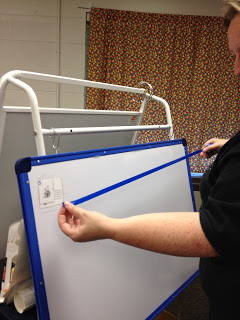
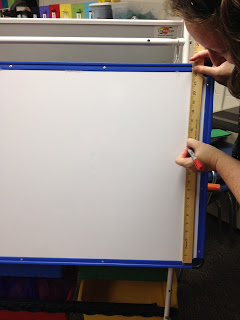 The family members of all teachers are pretty lucky because they often get recruited to help with those crazy teacher tasks that pile up especially at the beginning and end of the year. I mean, what could be more fun than tearing off the used stickers from last years recorders? On the day I made the staff my mom happened to be helping me for a few hours to get my room in order. Her presence turned out to be extra helpful as it would have been impossible to take “action shots” of the progress of this little project. Also, I seriously doubt that I would have gone to the trouble of finding the yard stick had my mom not been there to pester me into it. As you see, I did get out the yard stick and I measured out marks in two inch intervals.
The nice thing about using this small board is that I could easily hold both sides of the tape…. if the board were longer, then I would have had to get someone to hold the other end of the tape.
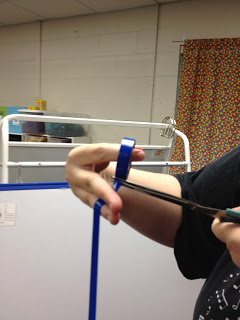
I cut the tape longer than the board because at this time I didn’t have a plan about how I was going to finish off the ends.
I pressed down the tape little by little from left to right.
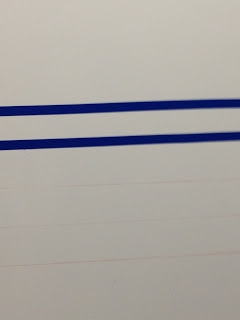
I “eyeballed” the second line and did pretty well, but decided that it would be useful to have guides. I wouldn’t use anything but dry erase markers to draw the guides because I found the guide lines to be useful, but I didn’t try to tape exactly on them because I’m not sure that I drew my guides totally straight.
The nice part about the electrical tape is that it was VERY easy to re-position the tape on the end of the board.
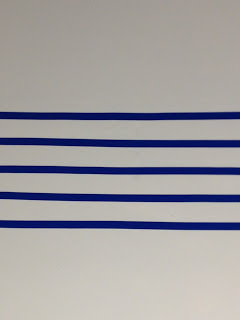
Here is what the 5 lines looked like fairly close up. As you see, they may not be PERFECT, but they will work well. I discovered that I will probably create and use magnets rather than try to write on top of the tape because it is slightly raised, but I CAN write on it if I choose.
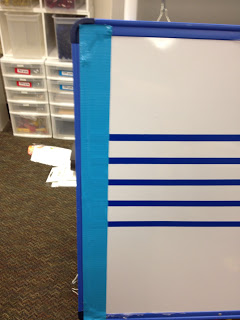
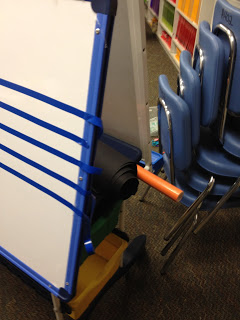 I had to figure out what to do with the exposed and unattached ends of the tape lines. I figured that I shouldn’t leave them unprotected because an unprotected piece of tape just begs little fingers to pull on it.
